Things Every New Spot Welding Operator Should Know
Although resistance welding has been widely used in manufacturing for decades, the process is not well understood outside of the automotive industry.
Unlike arc welding, which produces a bead that can be checked visually, successful resistance welding hinges on understanding the process, setting up the machine properly, and controlling all the variables. Here are a few tips to get you started.
Choose the Right Welding Machine
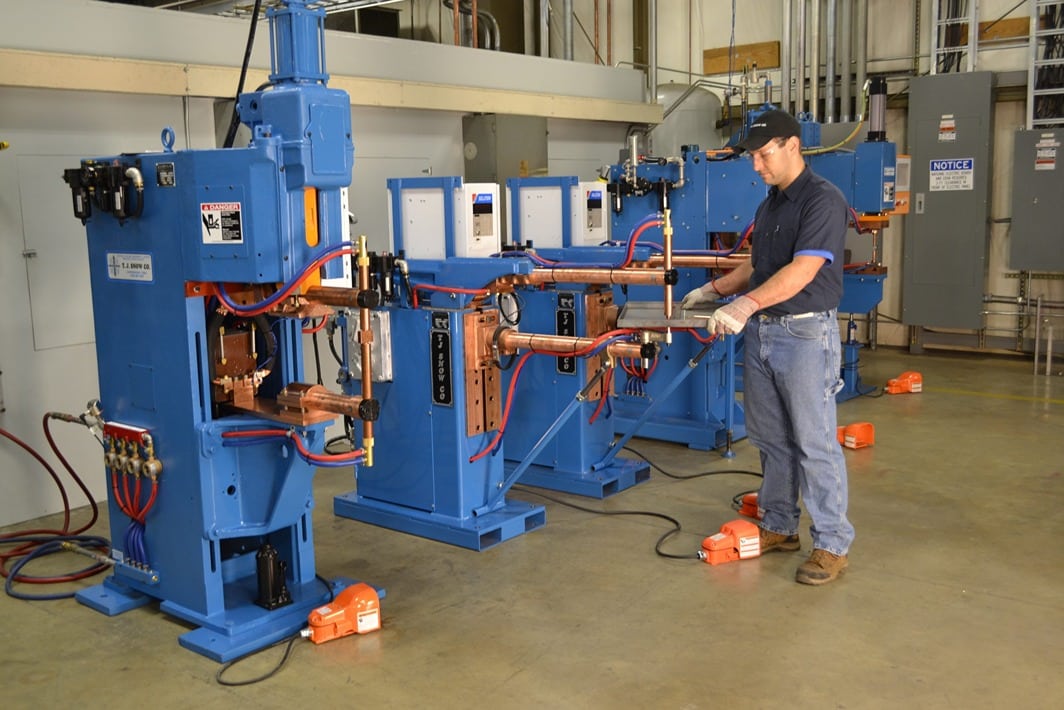
Fig. 1 – If you’re looking for the right resistance welding machine for your facility, the rocker arm spot welding machine is less expensive and more versatile.
Resistance welding machines come in many different sizes and varieties, and it’s important to choose the right one for the job. Although a rocker arm spot welding machine (Fig. 1) is the least expensive and most versatile type in use today, a vertical action press-type spot welding machine (Fig. 2) is recommended when weld appearance needs to be optimized. Also, press-type welding machines are best suited for projection welding applications that include nuts and studs.
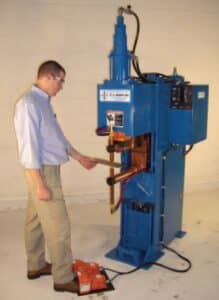
Fig. 2 – The vertical action press-type spot welding machine is recommended when weld appearance needs to be optimized.
When welding a large part that is not easily manipulated by the operator, consider using a portable spot welding gun hanging from an overhead spring balancer.
kVA Rating
Comparing welding machines solely by their kVA rating confuses the task of machine selection because kVA can be inflated if the U.S. industry standard of 50% duty cycle is not used. Because kVA is a thermal rating, a welding machine with a lower duty cycle rating results in a higher kVA number on the data plate.
As an example, a machine rated 100 kVA at 50% duty cycle may also be rated 141 kVA @ 25% duty cycle and 224 kVA @ 10% duty cycle. This inflated rating is common for many imported resistance welding machines.
Secondary welding amps actually do the work, and a spot welding machine’s throat depth is a critical variable in machine selection. As an example, a 100 kVA single-phase alternating current (AC) welding machine with a 12-in. throat will produce significantly more amps than the same machine with a 36-in. throat measurement. This is due to losses in the secondary loop.
Other throat depth considerations for rocker arm spot welding machines include the mechanical design of the force delivery system because, with everything else being equal, 12-in. arms will produce much more weld force than 36-in. arms.
Alternating Current / Direct Current
Although single-phase AC resistance welding machines were the industry standard for many years and are still in widespread use, welding machines with three-phase medium-frequency direct current (MFDC) power supplies are now taking over the higher end of the market, especially when welding advanced high-strength steel (AHSS) or aluminum.
In addition to the advantage of direct current (DC) output, which is superior to AC, three-phase medium-frequency machines present a balanced electrical load and draw less primary amperage when compared to a similar single-phase spot welding machine.
Purchase Setup Tools
The three main variables of resistance welding are secondary amps, weld time (current flow duration), and forging force. This is sometimes referred to as HTP (heat, time, pressure). These variables can be adjusted on the machine, and charts are available for mild steel and other alloys that will give you the initial settings. Setup charts can be found on T. J. Snow’s website here.
If your plant does not already own a gauge for measuring the force between the tips and a secondary amperage meter for measuring the output of a resistance welding machine, now is the time to buy these important setup tools.
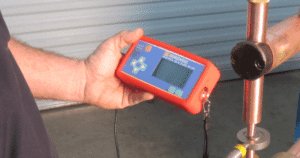
Fig. 3 – Investing in a weld force gauge and weld amp meter will pay dividends.
Taking time to experiment with various welding machine and control settings will pay dividends in weld quality – Fig. 3. A tensile pull machine is the best way to test welds, but destructive testing by peeling the weld apart can also confirm strength.
Organize a Detailed R&D
Several combinations of resistance welding variables will work for mild steel. However, for best weld strength and appearance, a relatively high amperage setting and a short weld time will produce a good weld without excessive marking and expulsion.
If your plant is welding aluminum or the AHSS alloys now common in the automotive industry, choosing the proper settings for all three variables is more critical because the window for success is much smaller than mild steel.
Taking the time to do a thorough R&D experiment to determine the optimum “weld lobe” settings will pay off in consistently high weld strength.
Use the Force
Since weld heat is generated by the electrical resistance of the material being welded, and this electrical resistance is dependent on the force between the welding electrodes, setting the proper forging force is critical. Just like Goldilock’s porridge, a weld join that’s “just right” will result from using a force setting that produces weld heat that’s not too hot and not too cold.
Too much force will reduce resistance and result in a cold weld, whereas low weld force can cause expulsion. The correct force for a particular metal thickness and alloy can be found on the chart.
An air cylinder that’s too small will run out of available force, and a cylinder that’s too large will not produce the weld follow-up required to properly forge the joint.
Some new machines now have electric servos to provide a wide and easily adjustable range of weld force.
Check to make sure your parts fit together intimately because the welding machine should not be used as a forming tool. If there’s a gap between the parts, “spring back” will rob the process of needed weld force.
Well-Dressed Tips
Choosing the proper copper electrode type, geometry, and alloy is critical.
Somewhat like tires on a car, “where the rubber meets the road,” resistance welding electrodes, commonly called tips, are the only connection between the welding machine and the part being welded.
And, regardless of whether the welding machine is a basic rocker arm or a press-type machine, welding current and force must pass through the electrodes to form a strong weld nugget at the interface of the material being welded.
Be Cool
Water cooling is critical to long tip life and it’s important to make sure that water tubes are properly installed. These tubes are designed to circulate water all the way into the end of the tip’s internal water-cooling cavity.
To ensure proper water-cooling flow and temperature, consider connecting your welding machine to a recirculating water chiller. To avoid condensation, set the water temperature above the prevailing dew point.
Picture This
Think of the electrode’s weld face as a “printing press” that leaves a picture of the tip’s weld face each time a weld is made. Since tips mushroom over time, it is imperative to maintain the original tip-end configuration through a consistent program of dressing, either on the machine or offline. Dressing or replacing the tips before it’s absolutely necessary will pay dividends.
Education
As you’ve probably realized by now, there’s much more to the resistance welding process than meets the eye. Fortunately, T. J. Snow offers many different training options including:
- Regional Seminars Hosted Across the Country
- Training at Your Plant on Your Machines
- Training at T. J. Snow’s Facility
- Online Courses Taught by a Live Instructor
- E-Course: Introduction to Resistance Welding for Machine Operators
T. J. Snow is proud to be the industry leader in Resistance Welding Training. We understand the importance of making sure weld operators are properly trained in the resistance welding process. Contact T. J. Snow today to learn more about training options.

